Famlogist

Pull your FamilySearch tree into Famologist.

FamilySearch doesn't offer GEDCOM download directly anymore — but their officially recommended free tool, RootsMagic, gets you a .ged file with about three minutes of clicks (plus however long FamilySearch takes to send your tree). Here's the whole path.

~3 min of clicks + tree-share time
💰
100% free, no upgrade nag
Recommended by FamilySearch
🖥
Windows and macOS
Why this route

FamilySearch retired their in-browser GEDCOM download to keep tree data consistent across users. Their own help center points you at RootsMagic Essentials — a free desktop app that signs into FamilySearch, pulls down a branch of your tree, and exports it as a standard .ged file. Famologist's importer reads that file directly.

We're also building one-click "Sign in with FamilySearch" via their official API — but FamilySearch's certification process takes time, so this is the path we recommend today.

The walkthrough

Three phases, six steps.

Think of it as: get the app → get your tree into the app → get it back out as a file we can read. The middle phase is the long one — go grab a coffee while FamilySearch streams your data over.

Phase 1

Get RootsMagic on your computer

1

Download RootsMagic

~30 seconds

Go to rootsmagic.com and download RootsMagic 11 for your operating system (Windows or Mac). It's the same download whether you end up using the free version or the paid one — you make that choice on first launch.

Screenshot — RootsMagic.com download page
2

Install and pick Essentials (free)

~1 minute

Run the installer with the default options. When the app first opens, you'll be asked to choose between RootsMagic Essentials (free) and the full paid version. Pick Essentials — no time limit, no ads, no upgrade nag. Everything we need here is in the free tier.
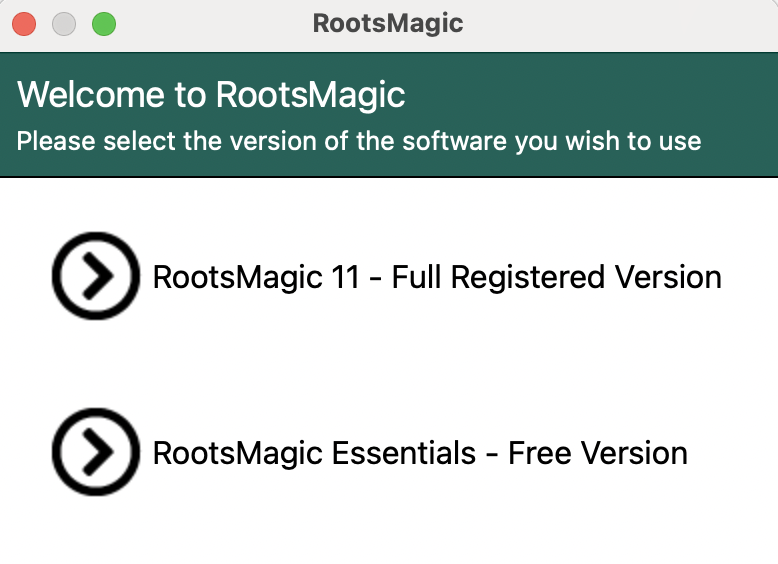
Screenshot — Essentials vs Paid choice on first launch
Tip: On macOS, if you see "RootsMagic can't be opened because the developer cannot be verified," right-click the app, choose Open, and click Open in the security prompt.
Phase 2

Get your FamilySearch tree into RootsMagic

3

Sign in to FamilySearch from RootsMagic

~30 seconds

Don't worry about creating a RootsMagic file yet — exporting comes later. First, get your data in. In the menu, choose File → FamilySearch Central → Login. RootsMagic opens a browser window where you sign in with your normal FamilySearch credentials, approve the access prompt, and return to RootsMagic.

Screenshot — File menu showing "FamilySearch Central → Login"
Tip: RootsMagic only gets read access — nothing it does here modifies your FamilySearch tree.
4

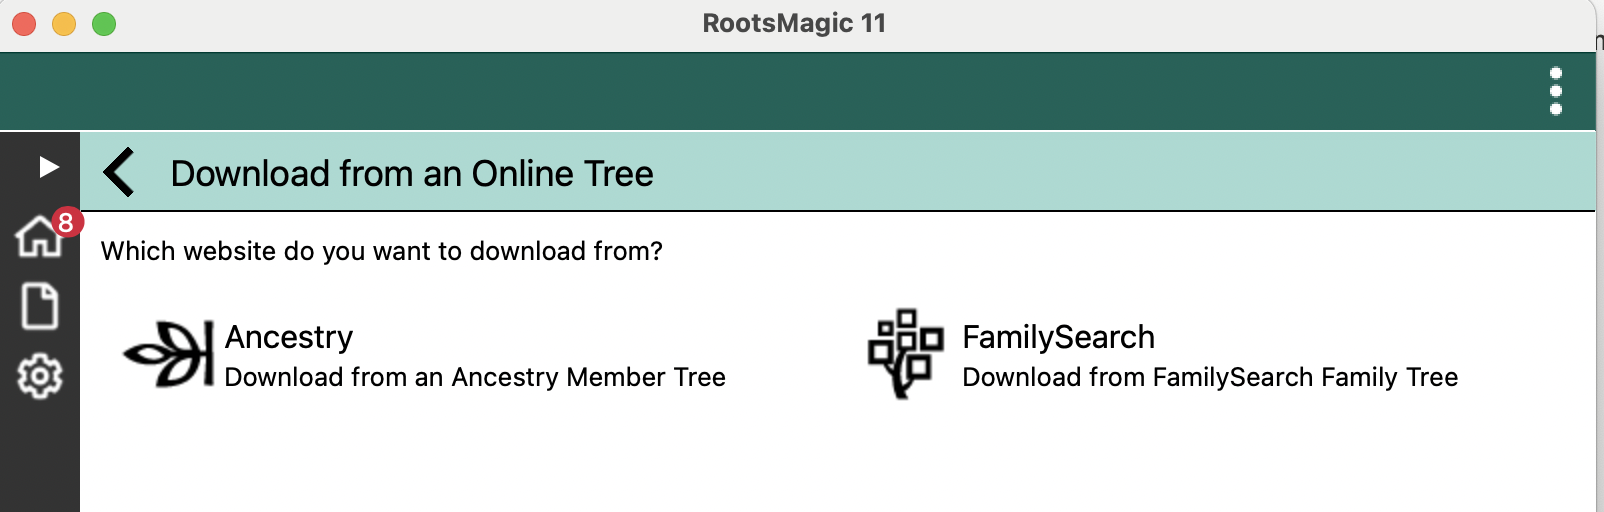
Pull your branch from FamilySearch

A few minutes to a lot

Once signed in, RootsMagic asks how much of your tree to download. You'll see two number fields — Ancestors and Descendants — measured in generations from yourself.

  • Starting out? 4 ancestor generations and 1 descendant generation is a good first pass.
  • Want the whole family book? Push both up to 8 or 10. The trade-off is time.

Click OK. RootsMagic will start streaming people from FamilySearch — you'll see counters climbing in a status bar at the bottom. It also displays a note: "This import can take a while if you have a large tree on FamilySearch." Believe it. A tree with a few hundred ancestors can take 10+ minutes; a few thousand can take an hour. The progress is real — let it run.

Screenshot — Tree Share dialog with Ancestors / Descendants generations
Tip: Famologist's roster cap depends on your plan — Free shows 8 people, Basic 20, Premium 100. There's no harm in pulling a big tree into RootsMagic; you'll get to pick which folks to import on the next screen.
Phase 3

Export to GEDCOM and bring it here

5

Export to GEDCOM

~30 seconds

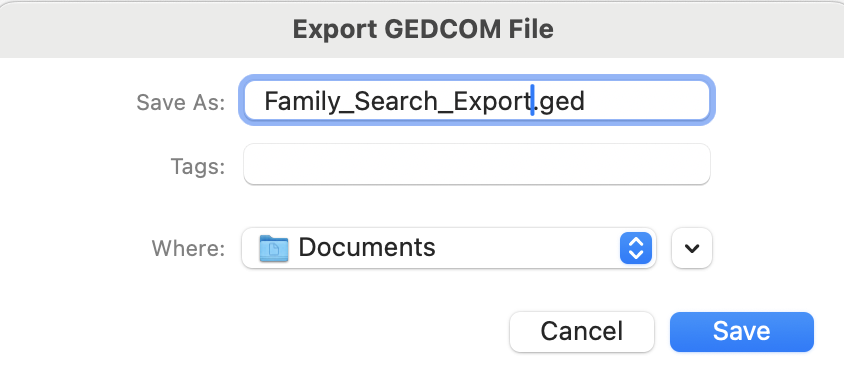
With the import finished, choose File → Export Data → GEDCOM File. RootsMagic asks where to save first — give it a name like Family_Search_Export.ged and pick somewhere easy to find (Desktop or Downloads is fine).

Then the GEDCOM Export Options dialog appears. The defaults are good — you don't need to change anything:

  • People to export = Everyone
  • Data to export — leave the checkboxes alone
  • Privacy Options — only toggle "Privatize living people" if you'd like to be extra cautious about anyone still alive
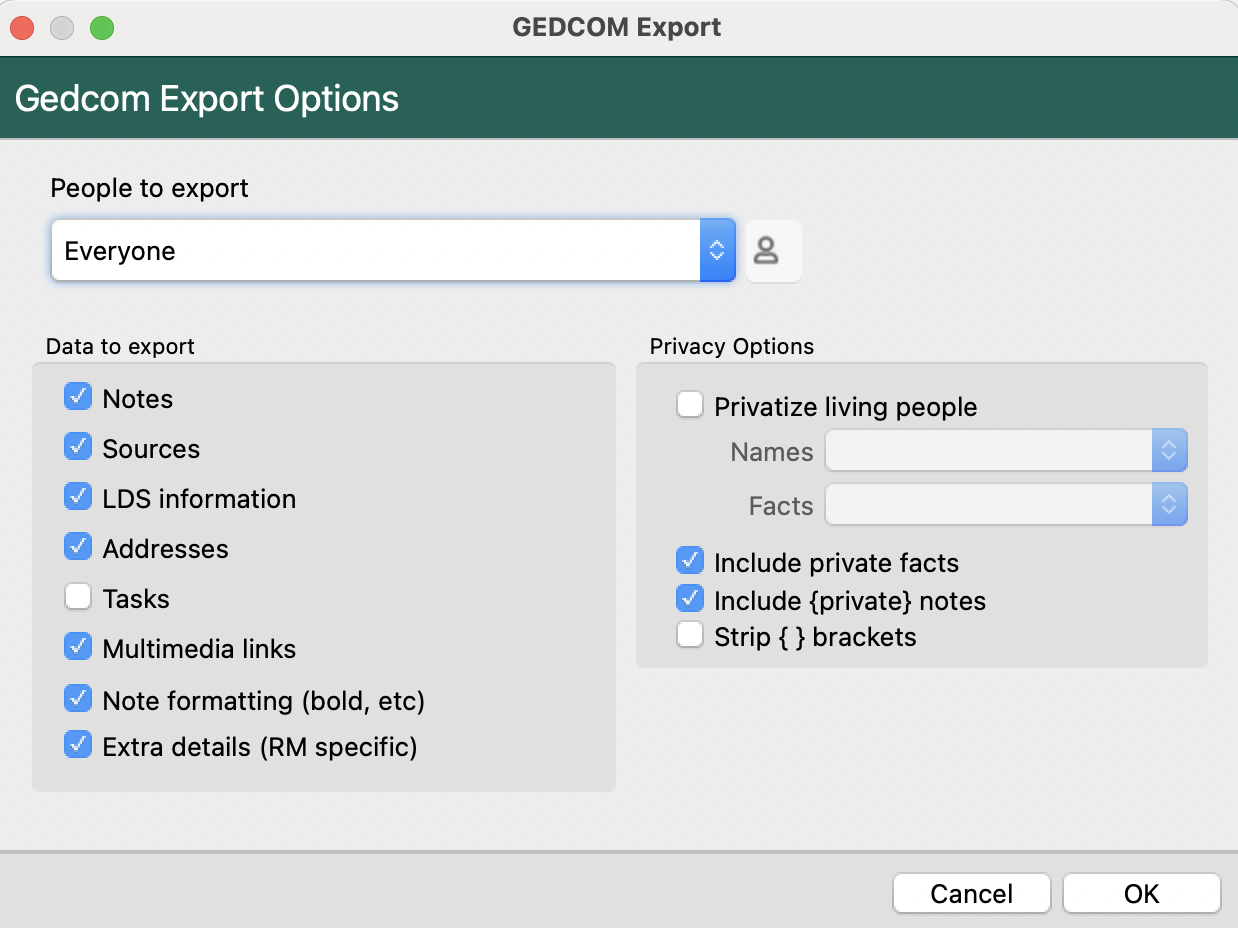
Click OK and you've got your .ged file.

Screenshot — GEDCOM Export Options dialog
Heads up: There's no GEDCOM version selector — RootsMagic writes GEDCOM 5.5.1 automatically, which is exactly what Famologist reads.
6

Upload to Famologist

~30 seconds

Back here in Famologist, head to People → Import GEDCOM, drop the .ged file in, and you'll see a preview of every person we parsed plus their attributes. Pick which ones to import, hit Import, and you're ready to play.

Troubleshooting

A few things that occasionally trip people up.

I can't find "RootsMagic Essentials" anywhere on the website

The website only labels it "RootsMagic 11" — the Essentials / Paid choice happens after you install, on the very first launch. Just download the main RootsMagic 11 installer and pick Essentials in the prompt when the app opens.

The import has been running for ages — is it stuck?

Almost certainly not. RootsMagic itself warns you that the import can take a while if your FamilySearch tree is large. The status bar at the bottom shows live "People" and "Families" counts; if those are climbing, it's working. A tree with a few hundred ancestors can take 10+ minutes. Leave it running and check back.

I don't know what to put for Ancestors / Descendants

Both numbers are generations counted from yourself. 4 ancestors / 1 descendant is a safe starting point — it pulls a few hundred people on most trees. You can always re-import later with higher numbers if you want more.

RootsMagic crashed the first time I opened it

Surprisingly common on Windows. Close it, reopen it, and the second launch usually works fine. On macOS, if you see "RootsMagic can't be opened because the developer cannot be verified," right-click the app and choose Open, then click Open in the security prompt.

I signed in but I see 0 ancestors

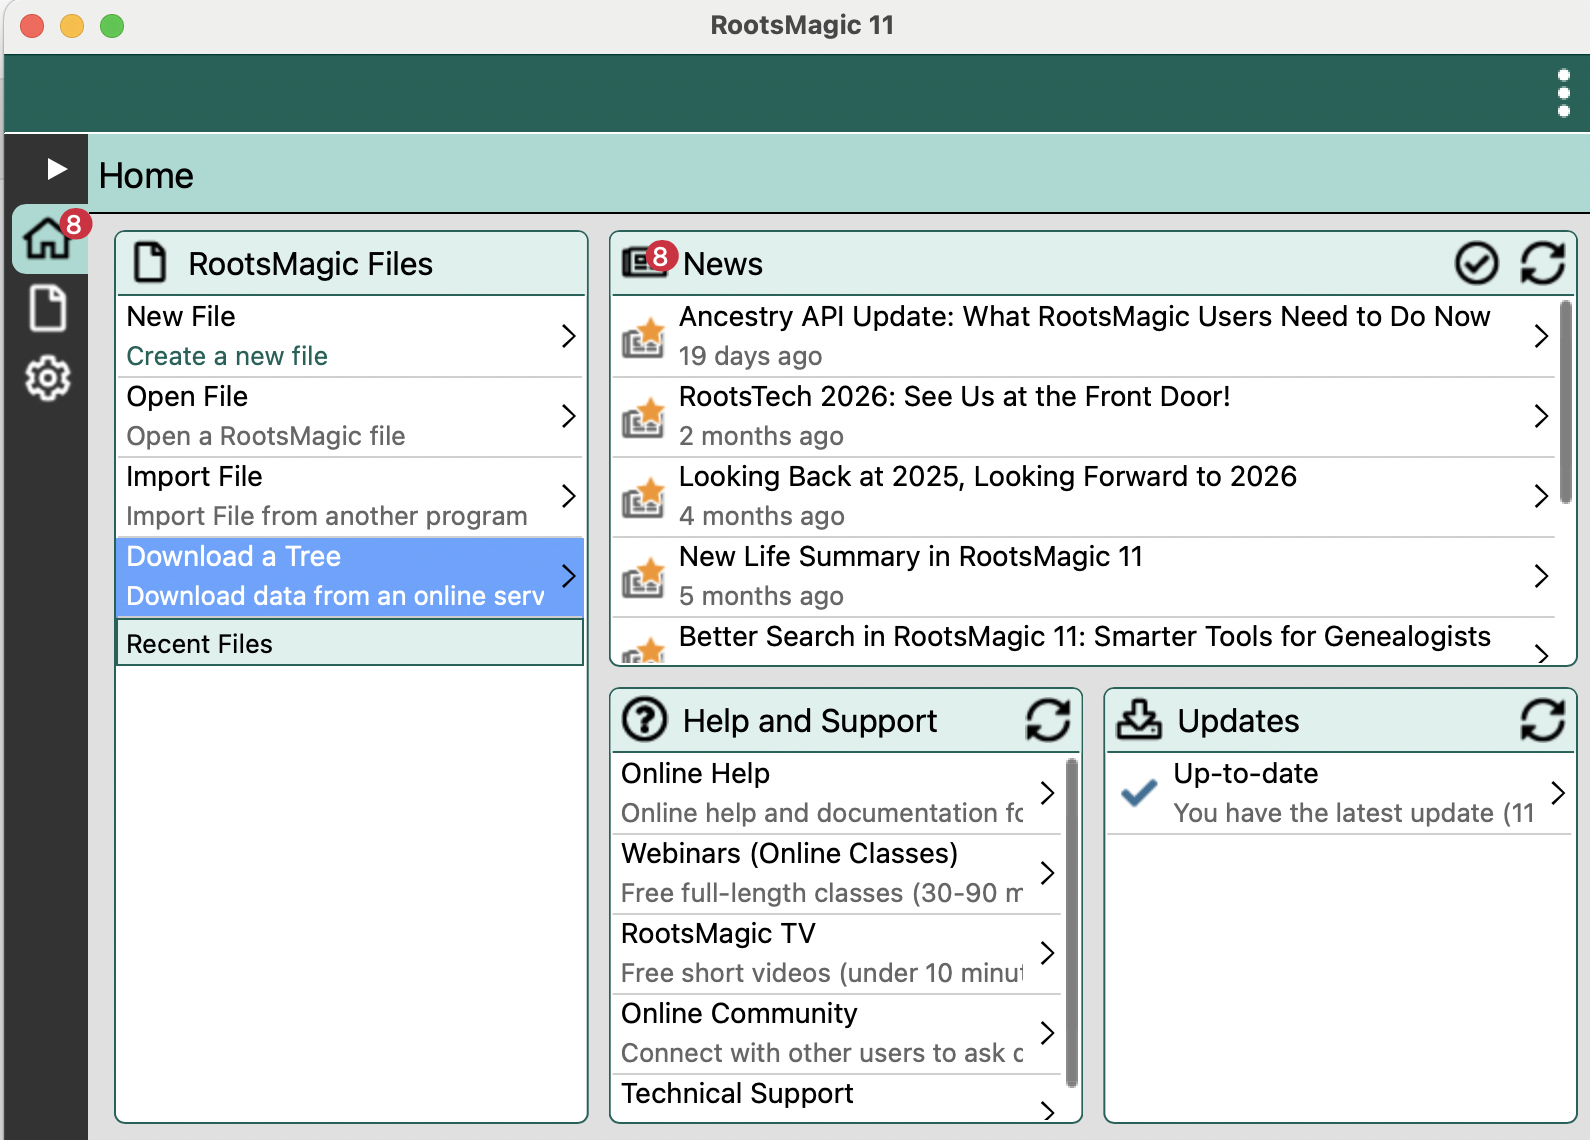
You haven't pulled the tree yet — signing in is step 3, pulling is step 4. Go to File → FamilySearch Central → Tree Share, set yourself as the starting person, and click Get from FamilySearch.

I tried "Save" or "Export" and it only saves a .rmtree file

.rmtree is RootsMagic's own format — not what we need. Use File → Export Data → GEDCOM File specifically. That menu item is what produces the .ged file Famologist can read.

Famologist says my file has no people

Sometimes RootsMagic wraps the export in a .zip file. If your download ends in .zip, double-click it to extract, and upload the .ged file inside. The importer also requires UTF-8 encoding — RootsMagic uses UTF-8 by default, so this only matters if you exported from a different tool first.

A handful of people show "Living" and were skipped

That's expected. FamilySearch and most other tools mark presumed-living people as just "Living" without any biographical data, so they don't make useful match pairs. The preview screen tells you exactly how many were skipped; you can always add them by hand later.

Ready when you are

You have a .ged file. Now play with it.

Drop the file into Famologist's importer, pick who to bring in, and start a Memory Match game where the cards are the people you've spent a lifetime researching.

Coming soon: one-click Sign in with FamilySearch direct integration. We're working through FamilySearch's Compatible Solution Program certification now.